
Use Python to Process PDF Work
Without Adobe PDF software, you can also edit the PDF such as adding text, splitting pages and extracting information.
Goal
One of the office challenges people may face would be the lack of software to handle PDF editing actions. In today tutorial, I will show you how to use Python to freely extract information from PDF or modify the content in the PDF. After the article, you will learn
- the methods to EXTRACT the key information from the PDF.
- the ways to SPLIT the PDF page.
- the procedure to ADD different elements to the PDF.
- the manner to EXPORT the PDF into images.
Also, if you are interested to check other office work tips, feel free to check my other articles on Medium.
Step by step tutorial to format the Excel spreadsheet using Pythontowardsdatascience.com
Three simple steps to scrape data with Excel built-in functionmedium.com
All codes and materials are uploaded to my GitHub. You can check and folk this repo to further study. =)
Data Source
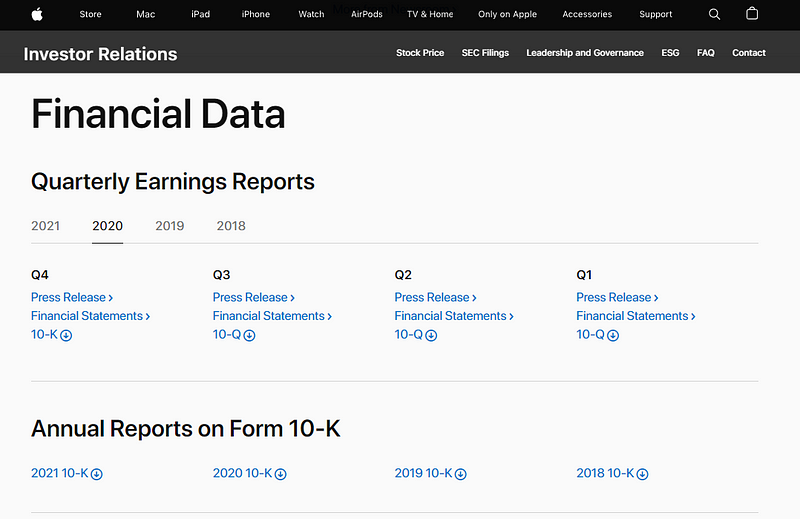
To show the tricks, first of all we need the PDF files. Here I use the Apple Financial Reports as the example which we can easily get those PDF files from its official website as shown in the below link.
https://investor.apple.com/investor-relations/default.aspx
Package
Throughout the tutorial, we mainly use the package PyMuPDF. If this is the first time you hear about that, you can simply install the package by
pip install PyMuPDF
To give you an introduction to the package, I would introduce PyMuPDF as one of the most useful and powerful packages to handle PDF with Python. It covers lots of functions from extraction, modification to exporting and etc.
To import the package, you can use the following code.
import fitz as pymupdf
Part 1 — Extract Information
I have summarized the most common elements that people would like to extract from the PDF in the below list.
- Basic information
- Text
- Images
- Table
- Others
Let’s go through them one by one.
1.1 basic information
Basic information refers to those related to file structure or file properties such as the number of pages, the creation date, the author and etc.
pdf_path = 'Apple Annual Report 2021.pdf'
f = pymupdf.open(pdf_path)
print('Page Number:', f.page_count)
print('Creation Date:', f.metadata['creationDate'])
print('Modified Date:', f.metadata['modDate'])
print('\nTable of Content:\n', [toc[1] for toc in f.get_toc()])
f.close()
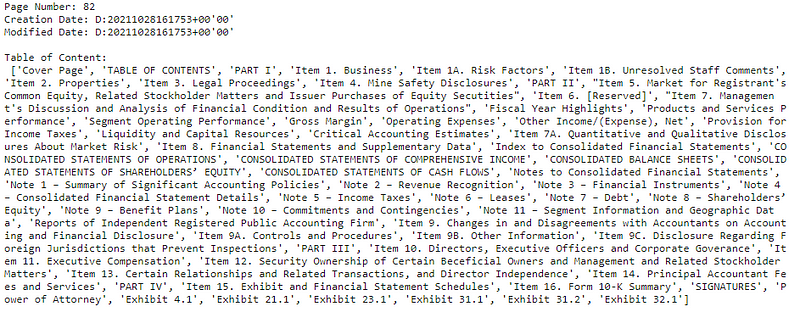
I think the code is pretty self-explained. Here I would just like to introduce three of the common methods for your reference to help you extract the basic information (page_count, metadata and get_toc()).
Remark: When we are working on the automation program to handle tons of the PDFs, one of the tips is to check the modified date and use it as the trigger for the start of the program.
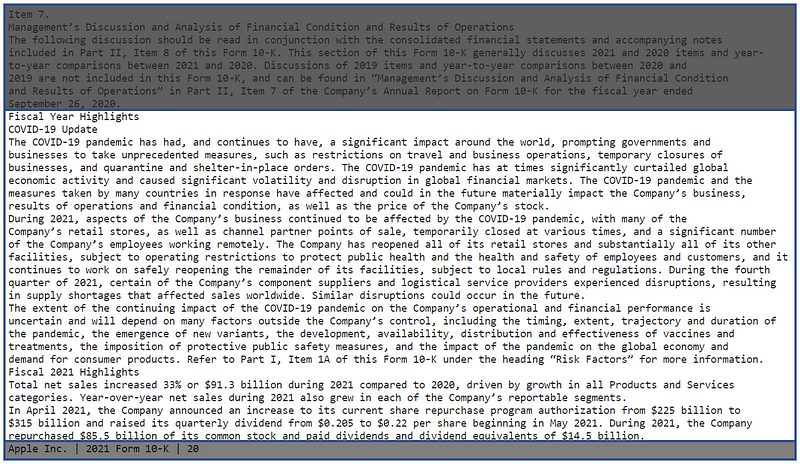
1.2 text
Another piece of information we always focus on would be the text. Let use the Fiscal Year Highlights as an example.
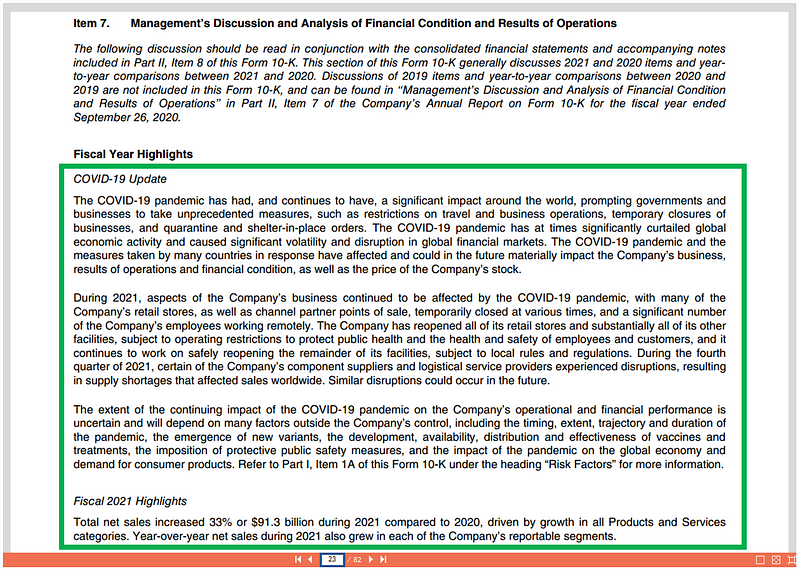
To extract the text, we only need to consider three things — (1) page number, (2) the starting point of the text and (3) the ending point of the text.
To extract the text for a specific page, (below we use page 23 as an example)
f = pymupdf.open(pdf_path)
txt = f.load_page(22).get_text()
f.close()
By getting the whole text for the page, you may include those unnecessary content that you may not be interested such as the paragraph in the previous chapter or the footer. To remove those irrelevant texts, you have two ways to do so, either set the pointer index or just replace them with blank.
To set the pointer, you can do with the following code.
start_idx = txt.find('Fiscal Year Highlights')
txt = txt[start_idx:]
To replace the footer text, you have to understand the structure of the footer and use the regular expression package to substitute it.
import re
txt = re.sub("\nApple Inc. \| 2021 Form 10-K \| \d+\n", "", txt)
1.3 image
Apart from the text, some figures or plots would be extracted often for further analysis. Here, we use the brand logo image as the demonstration.

To extract the image, we need the cross-reference number for the image object (xref). You can treat this as the unique identification for the objects in the PDF. To get this number, we need to leverage the function get_images. By using the function get_images, we get a list of images for a specific page following the below item structure.
(xref, smask, width, height, bpc, colorspace, alt.colorspace, name, filter)
f = pymupdf.open(pdf_path)
img_list = f.load_page(0).get_images()
print(img_list)
f.close()
[(489, 0, 46, 56, 8, ‘DeviceRGB’, ‘’, ‘Im1’, ‘DCTDecode’)]
So we now know that the Apple brand logo image cross-reference number is 489. Then the next job is to export the image out by extract_image.
f = pymupdf.open(pdf_path)
img_xref = img_list[0][0]
img_data = f.extract_image(img_xref)
img_f = open("img." + img_data["ext"], "wb")
img_f.write(img_data["image"])
img_f.close()
f.close()
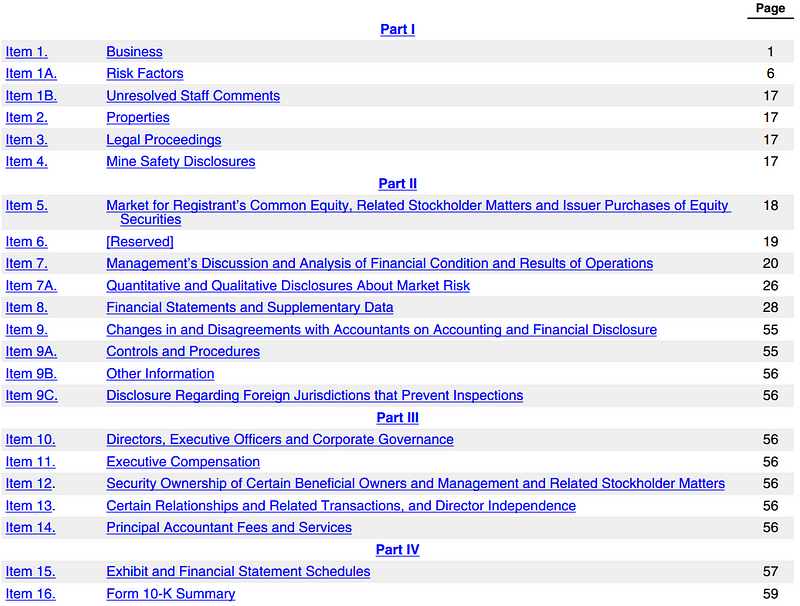
1.4 table
A piece of bad news to tell is that PyMuPDF does not support direct extraction for the table at the moment but as the Data Scientist, as long as we get the text, we can find ways to transform it into the format we wish, right?
Below I use the table of content as an example.
import numpy as np
import pandas as pd
pd.set_option('display.max_colwidth', None)
f = pymupdf.open(pdf_path)
txt = f.load_page(2).get_text()
f.close()
temp_table_list = txt[txt.find('Part I'):].split('\n')
temp_table_list = [cell for cell in temp_table_list if cell not in ['Part I', 'Part II', 'Part III', 'Part IV', '']]
table_list = []
cell = ''
while len(temp_table_list) > 0:
temp_cell = temp_table_list.pop(0)
if cell != '':
temp_cell = cell + temp_cell
cell = ''
if temp_cell[-1] == ' ':
cell = temp_cell
else:
table_list.append(temp_cell)
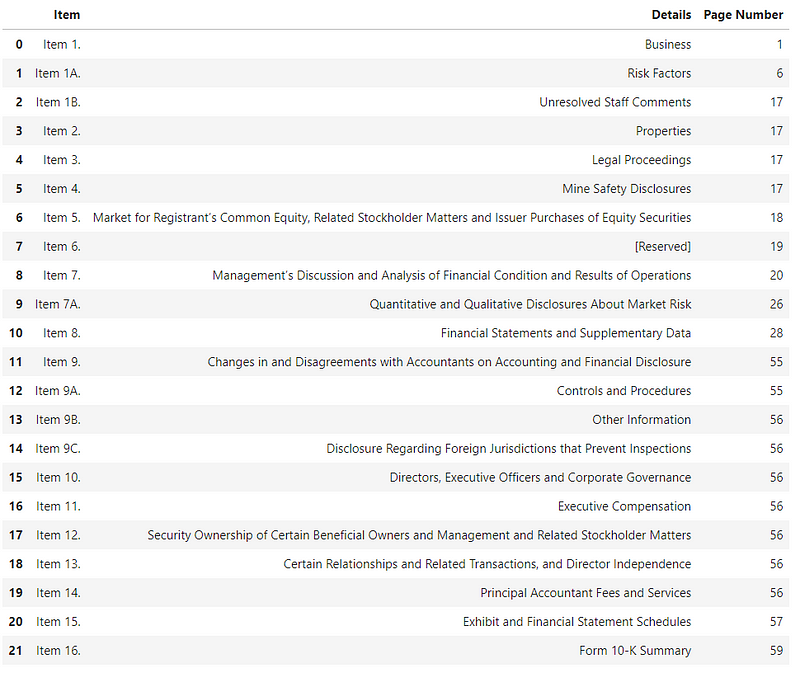
table = pd.DataFrame(np.array(table_list).reshape(-1, 3), columns=['Item', 'Details', 'Page Number'])
tableBasically, the procedure is as follow.
- Load the page and get the text.
- Set the pointer index and get the range of the text we are interested in.
- Split the text into the list.
- Handle the wrap text issue in Item 5.
- Reshape the list into the dimension of 3 and transform it into dataframe.
- Done!
1.5 others
Besides those most common elements listed above, I have found some extra rare components and their corresponding functions for some of your interests.
- Hyperlinks:
page.get_links() - Annotations:
page.annots() - Form fields:
page.widgets()
Part 2 — Modify the Content
Aside from extracting information, another operation for the PDF would be editing the file such as adding text and adding images. In general, these kinds of work can only be applicable for the Adobe Acrobat DC or other PDF editors. However, most of these softwares are not free while the online PDF editor platforms may somehow cause the security issue. Therefore, I would like to share how we can leverage Python to do these operations.
- INSERT a new page
- DELETE pages
- ADD the text
- ADD the image
- Others
2.1 insert a page
To insert a page, we can use the method new_page. The parameter would be the page number that you would like to insert. For example
Insert on the first page: f.new_page(0)
Insert on the last page: f.new_page(-1)
Insert on page 6: f.new_page(5)
f = pymupdf.open(pdf_path)
f.new_page(0, 612.0, 792.0)
f.save("Modified.pdf")
f.close()
Remark: you may observe that there are three parameters and indeed they are referring to (page number, width, height).
2.2 delete the pages
To delete the page, you can either use delete_page or delete_pages but I suggest the latter one since the former one can only delete one single page by specifying the page number while the latter can indicate a range of page numbers and would be much more efficient. For example, if I would like to keep only the pages with odd page numbers and delete all even pages,
f = pymupdf.open(pdf_path)
print('Original Page Number:', f.page_count)
f.delete_pages(range(0, f.page_count, 2))
print('Modified Page Number:', f.page_count)
f.save("Modified Apple Annual Report 2021.pdf")
f.close()
Original Page Number: 82
Modified Page Number: 41
2.3 add the text
To add the text, we need a text writer.
f = pymupdf.open(pdf_path)
page = f.new_page(0, 612.0, 792.0)
text_writer = pymupdf.TextWriter(page.rect)
page refers to the PDF page we are going to edit. page.rect returns the rectangle defined with four floating points (x0, y0, x1, y1) representing the coordinates of the page. To create the text writer object, we can then use pymupdf.TextWriter(page.rect).
Two things are required to write the text including (1) the x-y coordinates to put the text and (2) the text value.
# Compulsory
pos = (100, 200)
text = "https://blog.cyda.hk/"
# Optional
font_style = pymupdf.Font("helv")
font_size = 50
font_opacity = 0.5
font_color = (0, 0, 1)
text_writer.append(pos, text, font=font_style, fontsize=font_size)
text_writer.write_text(page, opacity=font_opacity, color=font_color)
f.save("Modified Apple Annual Report 2021.pdf")
f.close()
Remark, in the above code, I have listed the most common parameters that people would like to change for the font formatting for your reference.
2.4 add the image
To add the image, we only have to specify the coordinates that use to put the image (x1, y1, x2, y2).
f = pymupdf.open(pdf_path)
page = f.new_page(0, 612.0, 792.0)
x = 100
y = 200
w = 300
h = 300
img_rect = pymupdf.Rect(x, y, x+w, y+h)
page.insertImage(img_rect, filename="img.jpeg")
f.save("Modified Apple Annual Report 2021.pdf")
f.close()
2.5 others
There are much more than the above operations that can be used for editing PDF. I have listed some of them for your reference.
- Move the page:
f.move_page() - Copy the page:
f.copy_page() - Add the shape:
page.new_shape() - Draw the line:
shape.draw_line() - Draw the rectangle:
shape.draw_rect()
Part 3 — Export Different Formats
Before the end of the tutorial, I would like to spend some words on the output format of the PDF.
- SPLIT the PDF.
- COMBINE the PDFs.
- EXPORT into images.
3.1 PDF spliting
Sometimes, we would like to split the entire file and extract just a subset of pages for further process. The trick is simple. We just create a new PDF object called new_f and use the insert_pdf method to insert the pages and save it.
f = pymupdf.open(pdf_path)
new_f = pymupdf.open()
new_f.insert_pdf(f, from_page=0, to_page=1)
new_f.save("Modified Apple Annual Report 2021.pdf")
new_f.close()
f.close()
3.2 PDF merging
Similar trick can be easily applied when you need to merge two different PDFs. Basically, we open the two PDFs and then insert the second one to the first one and save it.
pdf1_path = 'Apple Annual Report 2021.pdf'
pdf2_path = 'Apple Annual Report 2021.pdf'
f1 = pymupdf.open(pdf1_path)
f2 = pymupdf.open(pdf2_path)
f1.insert_pdf(f2)
f1.save("Modified Apple Annual Report 2021.pdf")
f1.close()
f2.close()
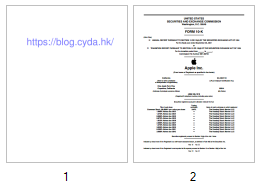
3.3 exporting images
Finally, some of you may be interested to save the PDF page as the image. Then you can leverage the get_pixmap() function to transform the page into a Pixel map object and then save as PNG.
f = pymupdf.open(pdf_path)
page = f.load_page(0)
pix = page.get_pixmap()
pix.save("page.png")
Conclusion
That’s the end of the office tips for using Python to process the work in PDF. If you are interested to know more about this kind of work tips, do give a like and follow. Stay tuned for my next tutorial. =)
If you find my article useful, please endorse my skills on my LinkedIn page to encourage me to write more articles.
Comments
Post a Comment